
Painting estimate checklist: what to include before you send a quote
A walkthrough checklist for rooms, surfaces, prep, finish plan, exclusions, schedule and changes — so the homeowner and your crew see the same job.
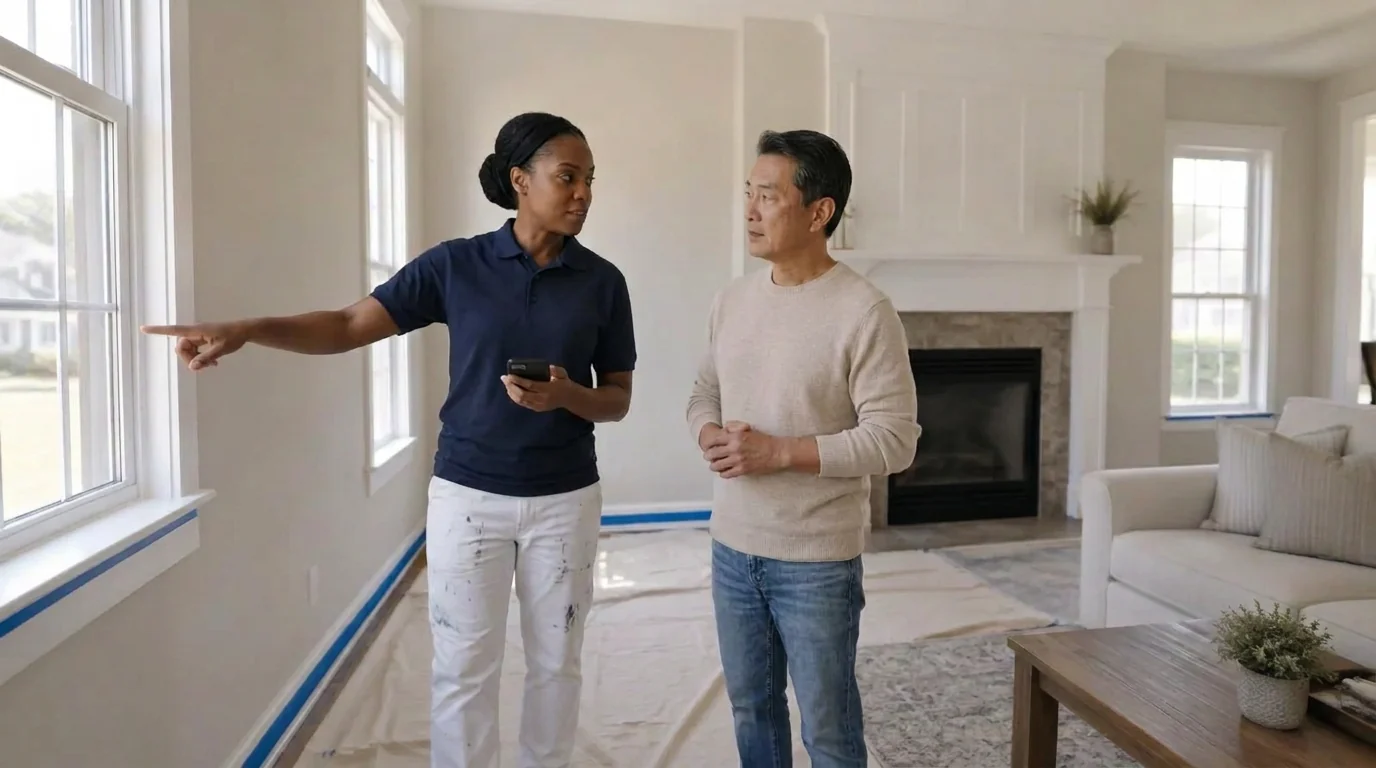
A painting estimate is more than a number. It tells the homeowner what you saw, what you plan to do, and what the price covers.
A clear estimate helps both sides start with the same picture of the job. It also gives your crew something useful to work from after the quote is signed.
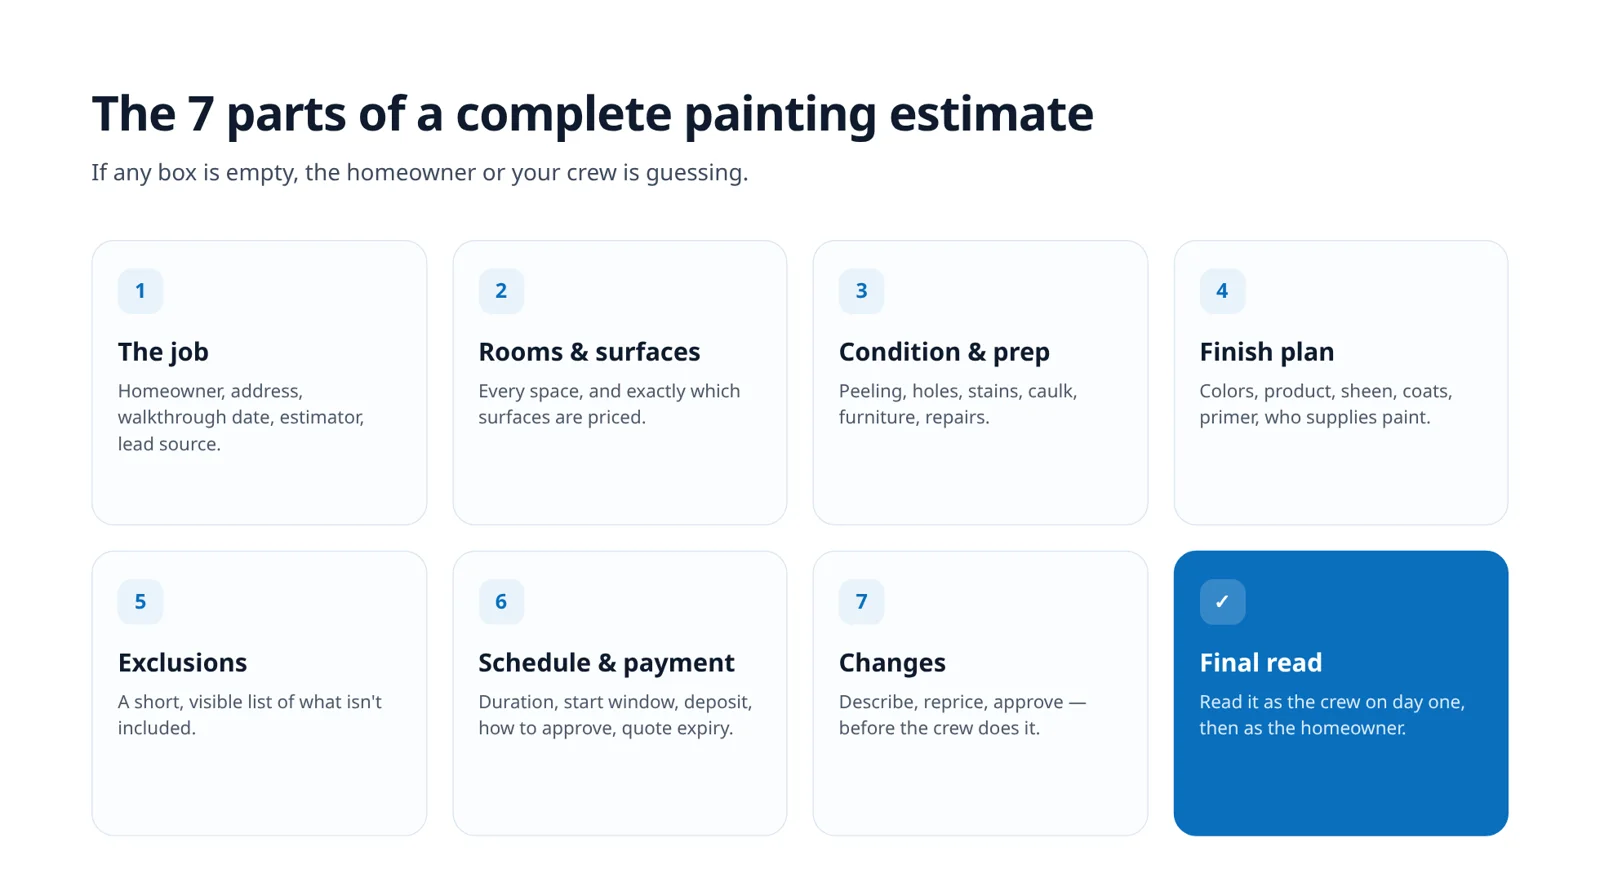
Use this checklist during the walkthrough or while you build the quote. Adjust it to match the way your company prices work.
1. Identify the job
Start with the basics so the estimate stays attached to the right customer and property.
- Homeowner name and best contact information
- Property address
- Date of the walkthrough
- Name of the estimator
- Requested start window, if the homeowner has one
- How the lead found your company
If you have several open estimates, a clear job name helps you find the right one quickly. “Smith — interior repaint” is easier to scan than “New estimate.”
2. List each room and surface
Write down the spaces included in the quote. For each one, record the surfaces you will paint.
| Room or area | Surfaces to confirm |
|---|---|
| Living room | Walls, ceiling, trim, doors, built-ins |
| Bedroom | Walls, ceiling, trim, closet, doors |
| Kitchen | Walls, ceiling, trim, cabinets, island |
| Hallway or stairwell | Walls, ceiling, trim, railings |
| Exterior area | Siding, trim, doors, shutters, other details |
Avoid relying on “whole room” when the homeowner may understand that to include surfaces you did not price. If the ceiling or closet is excluded, say so.
3. Record the condition and prep
Prep affects time, materials, and the finished result. Note what you can see during the walkthrough.
- Peeling or loose paint
- Holes, cracks, dents, or damaged drywall
- Stains that may need primer
- Caulk or gaps to address
- Glossy or difficult surfaces that need extra preparation
- Furniture and belongings that need to be moved or covered
- Repairs that are outside the painting scope
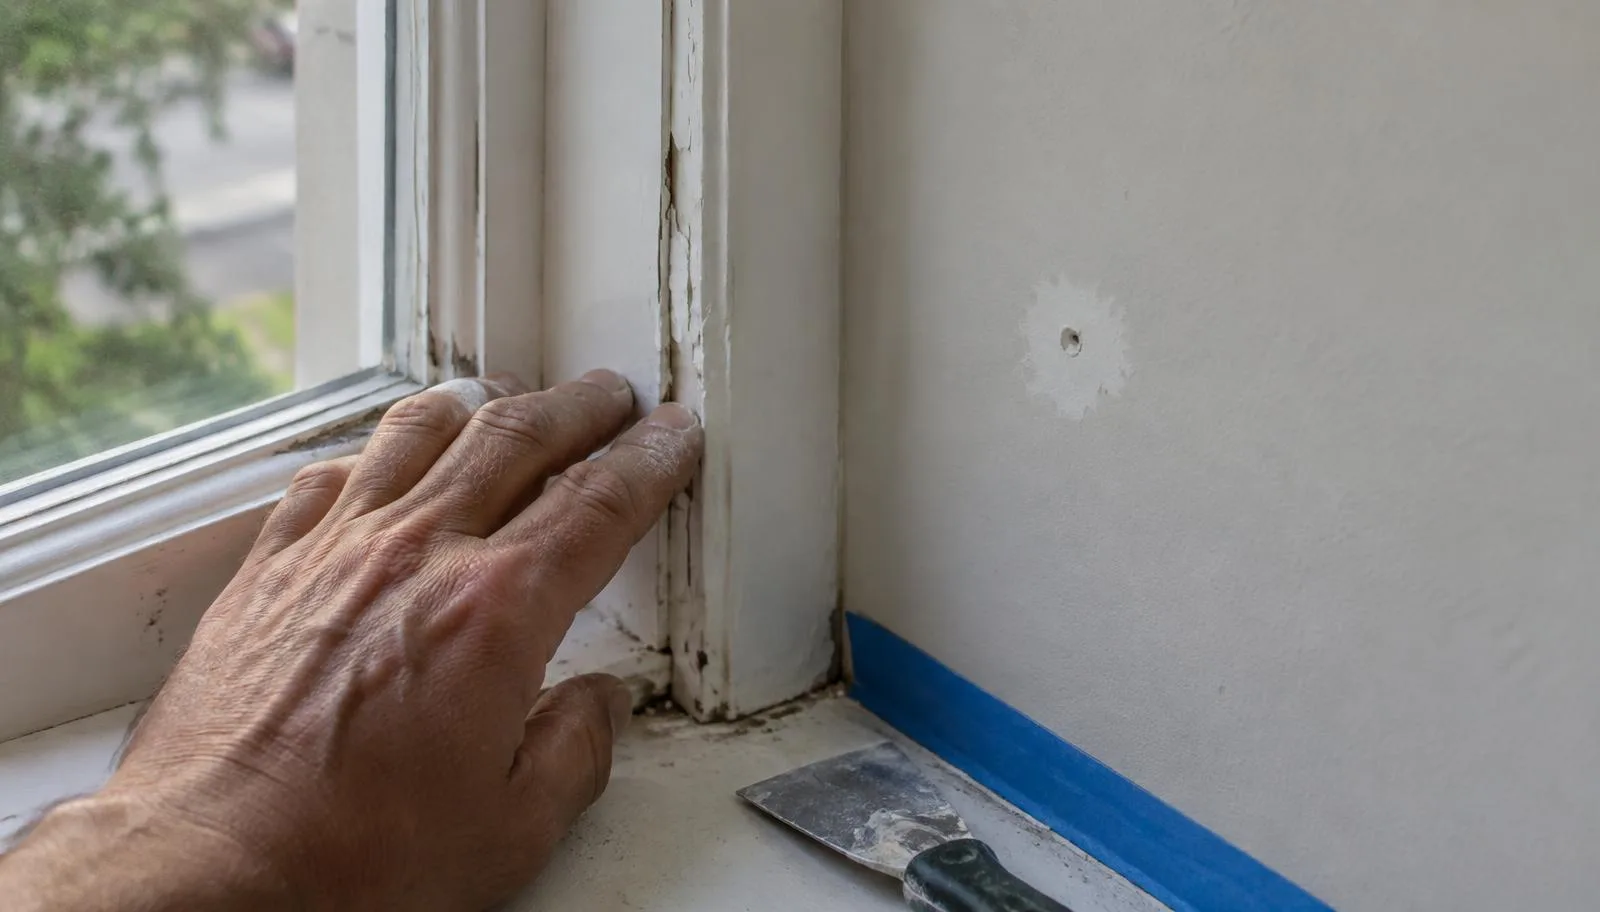
Be specific about what your price includes. If a repair needs a separate price or another trade, list it as excluded or as an option. Do not leave the homeowner to guess.
4. Confirm the finish plan
Capture the choices that affect the work and the materials.
- Color for each room or surface
- Paint product or quality level
- Sheen or finish
- Number of coats included
- Primer requirements
- Who is supplying the paint
- Whether samples or color changes are part of the price
If a color has not been selected, write that down and set a clear deadline for the decision. Color changes after materials are ordered or work begins may affect the schedule or price.
5. Define what is not included
Exclusions are part of a complete estimate. Examples may include moving heavy furniture, repairing rotten wood, wallpaper removal, painting inside closets, or replacing damaged fixtures. Only list exclusions that apply to this job.
Make exclusions easy to find. A short, visible list is more useful than a general sentence saying “additional work costs extra.”
6. Explain the schedule and payment steps
Give the homeowner a realistic next step without promising a start date you cannot hold.
- Estimated work duration or crew days
- Earliest available start window
- What needs to happen to reserve a date
- Deposit or payment milestones
- How the homeowner can approve the quote
- How long the quote remains valid
A proposed start date and a confirmed start date are different. Say what must happen before the date is locked.
Once the quote is accepted, use the guide on how to schedule residential painting jobs and crews to turn it into a crew plan and a start window you can keep.
7. Decide how changes will be handled
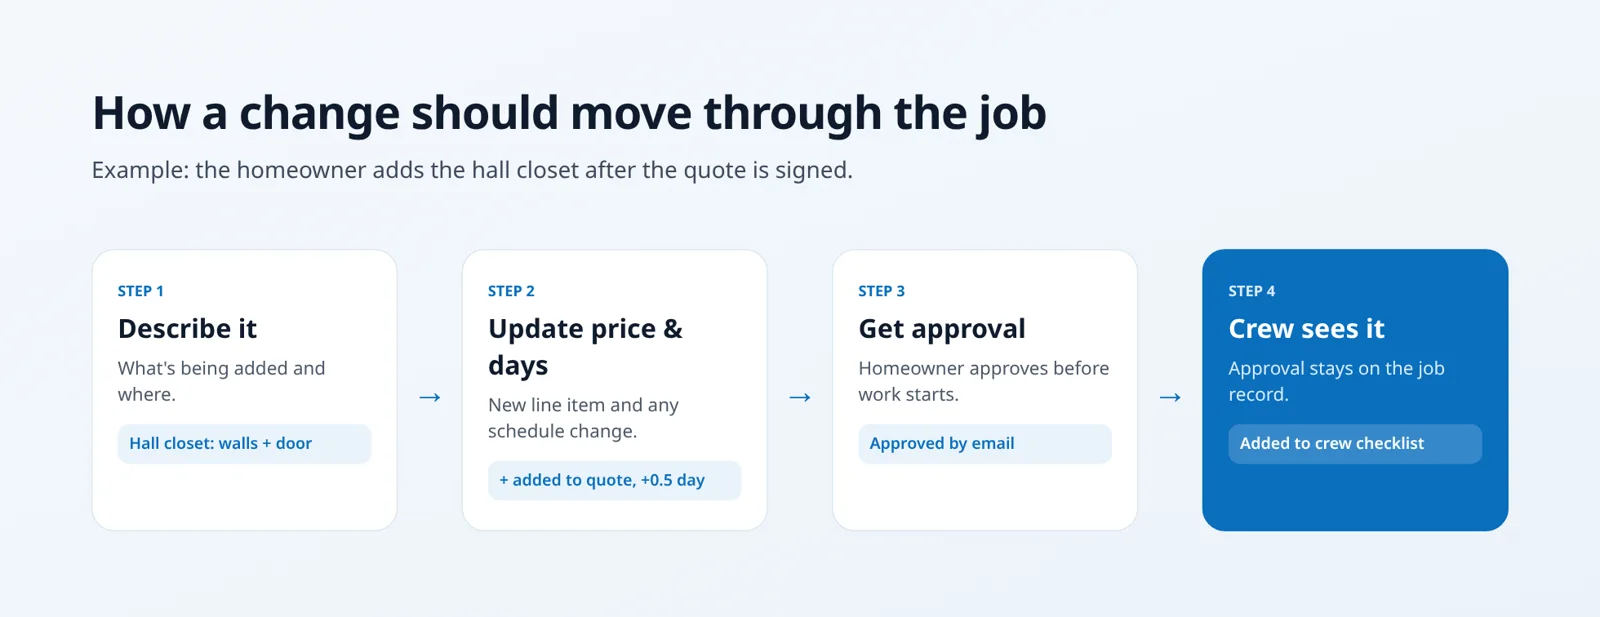
Jobs can change after the walkthrough. A closet gets added. Cabinet doors need another coat. A damaged area needs more prep. When one comes up, use a painting change order to price it and get approval.
Agree on the process before work begins: describe the added work, update the price and schedule, and get approval before the crew does it. Keep that approval with the job details so the office, crew, and homeowner are working from the same information.
One quote. Three clear views.
- View 1 of 3
Owner
Rooms, surfaces, prep, finishes, exclusions, price and payment steps.
- View 2 of 3
Crew
What to paint, what to protect, which products to use and what is excluded.
- View 3 of 3
Homeowner
What is included, what it costs, how to approve and what happens next.
Before sending, read the same quote from all three perspectives.
A final check before you send
Read the estimate as if you were the crew arriving on the first day. Could they tell what to paint, what to protect, what products and colors to use, and what the homeowner approved?
Then read it as the homeowner. Is the price clear? Are the exclusions visible? Do you know how to accept and what happens next?
A clear estimate makes it easier to sell the right job and hand it off cleanly.
Want to see how dropcloth keeps the inquiry, quote, schedule, crew details, and payment on one job record? See the dropcloth workflow.
Keep reading

How to Collect Residential Painting Deposits
Define what each payment covers, when it is due, and how it counts toward the job total. A practical checklist for residential painting contractors.

How to Follow Up on a Painting Estimate
A four-step follow-up schedule with email templates, so every open quote has a clear next step without pressuring the homeowner.

How to Schedule Residential Painting Jobs and Crews
Confirm the job is ready, plan crew days from the work, give homeowners a start window you can keep, and handle changes from one current plan.