
How to Estimate a Residential Painting Job: Labor, Materials, Prep, and Profit
A repeatable way to price residential painting jobs: scope, labor by task, materials from product coverage, overhead, and margin-based pricing.
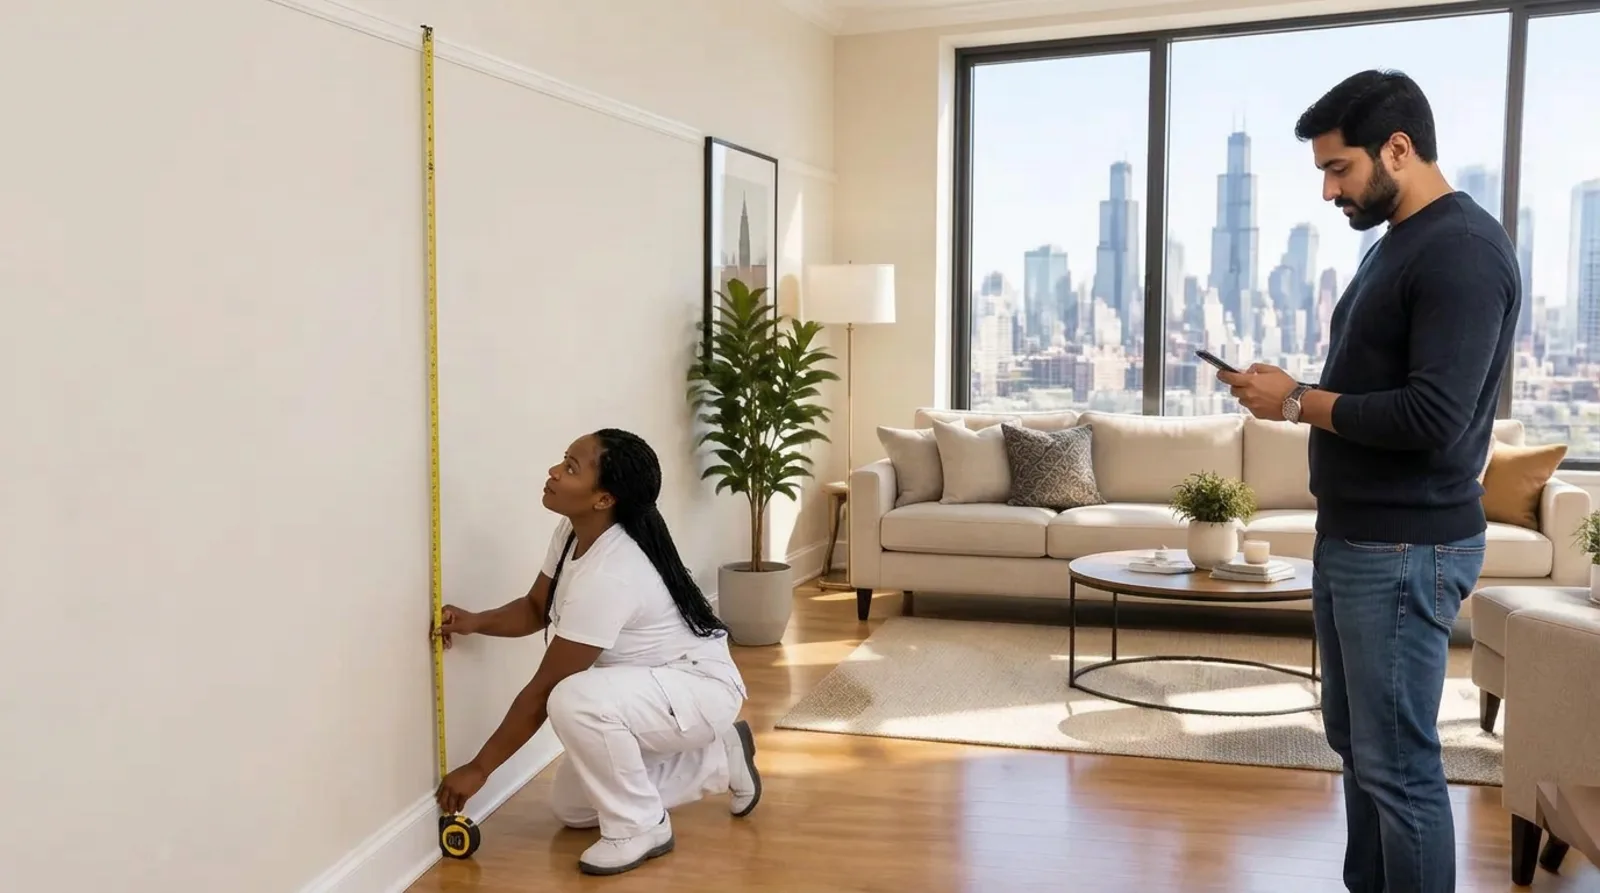
A painting estimate has to do two things: describe the work clearly enough that the homeowner and crew understand the same job, and price that work so the business can complete it profitably.
That takes more than measuring a room and multiplying by a square-foot price. Surface condition, preparation, access, product, coats, crew productivity, and the way your business handles overhead all affect the number.
Here’s a repeatable way to build the estimate from the job itself.
Build the price from the job, not a square-foot guess
- Step 1 of 3
Scope + tasks
Record each area, surface, prep, product and coats, then break it into crew tasks.
- Step 2 of 3
Cost basis
Labor hours × burdened rate, materials from product coverage, direct costs and overhead.
- Step 3 of 3
Price by margin
Total cost ÷ (1 − target margin). Then compare estimate vs actual after the job.
Markup isn't margin: a 15% markup on cost is about a 13% margin on price.
1. Define exactly what the job includes
Walk the property and record the work by room, surface, or exterior section. “Paint the living room” leaves too much open to interpretation. Record what will be painted and what the crew is expected to do before painting.
For each area, note:
- Surfaces included: walls, ceilings, trim, doors, cabinets, siding, or other areas
- Surface condition and visible repairs
- Preparation required: protection, cleaning, sanding, scraping, caulking, patching, or priming
- Product, color, and sheen, if selected
- Number of coats in the scope
- Access requirements, such as high ceilings, stairs, or difficult exterior areas
- What the homeowner needs to move or prepare
- What is excluded from the price
Surface condition, preparation, product, coats, access, and complexity can all change the labor and material required. PPG’s estimating guidance calls out these kinds of job conditions as factors to assess rather than treating every surface as the same. (PPG)
If the color or product is not final, state what the estimate assumes and how a later selection could affect the price. If you find damage that cannot be assessed during the walkthrough, describe what is excluded and agree on how additional work will be priced and approved.
Your painting estimate checklist can help you record the scope consistently.
2. Break the work into tasks
Estimate labor by the work your crew will perform, rather than relying on one total based only on square footage.
A room estimate might include separate time for:
- Protecting floors and furnishings
- Preparing walls and trim
- Priming, where required
- Painting walls
- Painting ceilings
- Painting trim and doors
- Cleanup and walkthrough
For each task, estimate the labor hours required. Use your own completed jobs as the starting point. Compare jobs with similar surfaces, preparation, products, and access; then adjust for what is different about this one.
A production rate is useful only if it reflects the work being estimated. A rate from a clear, empty room may not fit a room with repairs, extensive masking, or difficult access. Treat your rates as working estimates, then improve them by comparing estimated hours with actual hours after each job.
If you don’t have reliable job history yet: make your best documented estimate, record the actual hours by task, and use those results to improve the next one. Avoid presenting a generic production rate as a guaranteed standard for every crew or property.
3. Calculate labor cost, including employer costs
Once you have estimated the labor hours, calculate the cost of that labor to the business.
A basic formula is:
Estimated labor hours × labor cost per hour = estimated labor cost
The labor cost per hour should reflect the costs your business actually carries. Depending on your payroll and workforce, that may include wages, employer payroll taxes, workers’ compensation, benefits, and other employment costs. The IRS describes employer responsibilities for Social Security and Medicare taxes; your actual labor burden depends on your payroll and applicable costs. (IRS)
Include the cost of the owner’s field labor when the owner is performing production work. Otherwise, the estimate can look profitable while leaving out labor the business still has to provide.
Keep your costing method consistent. If a cost is already included in your hourly labor rate, don’t add it again as a separate job cost.
4. Estimate materials from the selected products
List the paint and other materials needed for the scope. For paint, use the selected product’s data sheet or product information for its stated coverage, then account for the surface and application conditions.
A basic quantity calculation is:
Area to be coated × number of coats ÷ product’s stated coverage = estimated paint quantity
For example, if the documented scope includes 1,000 square feet and the selected product’s data sheet states coverage of 400 square feet per gallon, one coat would calculate to 2.5 gallons before rounding or adjustment. Two coats would calculate to 5 gallons before rounding or adjustment.
Also account for primer, caulk, patching materials, masking supplies, and other materials included in your scope. Round quantities to available package sizes, and use your own job history to estimate normal application loss. Don’t add an unexplained percentage to every job; base adjustments on the product, surface, and your observed usage.
5. Add other job-specific costs and overhead
Add costs that apply to this job, such as equipment rental, disposal, or subcontracted work. Then account for business overhead: expenses that support the work but do not belong to just one job, such as office costs, insurance, software, vehicles, and estimating time.
Choose one consistent way to recover overhead. For example, a business might allocate overhead across productive labor hours or use another method established with its accountant. The method matters less than applying it consistently and avoiding double-counting.
At this point, your estimate should include:
- Labor cost
- Materials
- Other direct job costs
- Allocated overhead
That gives you a cost basis for setting the price.
6. Set the price using margin, not a guessed markup
Markup and margin are related, but they are different calculations.
If you add a 15% markup to a $1,000 cost, the price is $1,150. The profit is $150, which is about 13% of the selling price, not a 15% margin.
To calculate a price from a target margin:
Price = total estimated cost ÷ (1 − target margin)
Hypothetical example
Suppose a sample estimate has:
- Labor: $1,728
- Materials: $850
- Other job costs: $120
- Allocated overhead: $800
- Total estimated cost: $3,498
If the business sets a 15% target margin after those costs, the calculation is:
$3,498 ÷ (1 − 0.15) = $4,115.29
At that price, the difference between the price and the estimated costs is $617.29, or 15% of the selling price.
These figures are hypothetical examples to show the math. They are not market rates, recommended costs, or a suggested margin for your business. Your cost structure and pricing decisions are your own.
Before sending the quote, check that your chosen price covers the scope, costs, overhead, and target you intended. If your business uses a different pricing method, apply it consistently and make sure you know whether you’re working with markup or margin.
7. Make assumptions, exclusions, and changes clear
A clear estimate tells the homeowner what the price includes and where the boundary is.
State assumptions that affect the price, such as the product, number of coats, or condition of the surfaces. List work that is excluded. When additional work comes up, document its scope and price, and get approval before the crew proceeds.
This protects the homeowner from surprises and gives the crew a clear job to complete. For more on documenting added work, see the guide to painting change orders.
8. Compare the estimate with the completed job
After the job, compare estimated hours and material quantities with what the crew actually used. Review the difference by task, not just by total job cost.
Ask:
- Which tasks took more or less time than estimated?
- Did the surface condition match what you saw during the walkthrough?
- Were the product and coat assumptions correct?
- Did material usage match your estimate?
- Did added work get documented and approved?
One completed job doesn’t establish a dependable rate by itself. Over time, comparable job records help you make more informed estimates and identify where your assumptions need to change.
Before you send the estimate
Check that you have:
- Listed each area and surface included
- Recorded preparation, products, coats, and exclusions
- Estimated labor by task using rates appropriate to your crew and scope
- Included labor costs and job-specific materials
- Accounted for other direct costs and overhead without double-counting
- Applied your pricing method correctly
- Explained how additional work will be handled
- Kept the scope, schedule, approvals, and payment terms consistent
For a room-by-room walkthrough, use the Painting Estimate Checklist. For the next step after the homeowner approves, see How to Schedule Residential Painting Jobs and Crews.
Keep the estimate connected to the job
The estimate is the starting scope for the work. When the approved scope, product selections, schedule, changes, and payments stay connected to the same job, the owner and crew can refer to the same record as the work moves forward.
dropcloth keeps the job connected from inquiry through payment, so the walkthrough scope becomes the quote, the crew plan and the final invoice.
Keep reading
Painting Estimate Checklist: What to Include Before You Send a Quote
A walkthrough checklist for rooms, surfaces, prep, finish plan, exclusions, schedule and changes, so the homeowner and your crew see the same job.

How to Follow Up on a Painting Estimate
A four-step follow-up schedule with email templates, so every open quote has a clear next step without pressuring the homeowner.
Painting Change Order: How to Price Extra Work and Get Approval
Write down what's changing, price it before the crew starts, note the schedule impact, and get the homeowner's approval before any extra work.